Connecting a servo motor plug to a servo motor is a crucial step in setting up and operating servo - motor systems. As a trusted Servo Motor Plug supplier, I understand the importance of this process and am here to guide you through it in a detailed and easy - to - follow manner.
Understanding the Basics of Servo Motors and Their Plugs
Before we delve into the connection process, it's essential to have a basic understanding of servo motors and their plugs. A servo motor is a precision device that converts electrical signals into precise angular or linear motion. It consists of several key components, including the Servo Motor Stator, rotor, and control circuitry. The servo motor plug is a connector that provides the electrical interface between the servo motor and other components in the system, such as a controller or power supply.
Servo motor plugs come in various shapes, sizes, and pin configurations, depending on the specific requirements of the servo motor. Some common types of servo motor plugs include circular connectors, rectangular connectors, and specialized proprietary connectors. It's important to ensure that the plug you choose is compatible with your servo motor to ensure proper functionality and reliable performance.
Tools and Materials Required
To connect a servo motor plug to a servo motor, you'll need the following tools and materials:
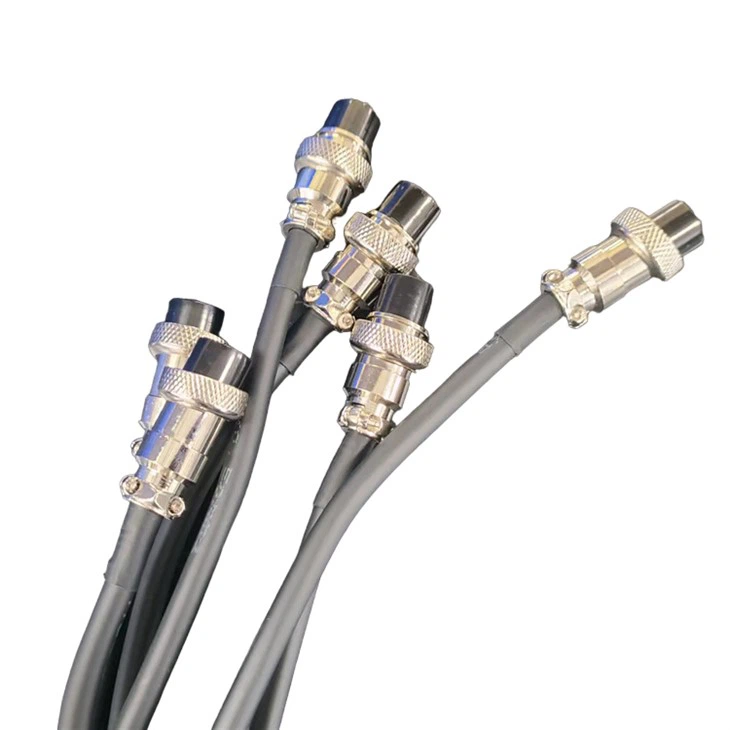
- Servo Motor Plug: Make sure to select a plug that is compatible with your servo motor. You can find a wide range of Servo Motor Plugs on our website.
- Servo Motor Extension Cable: In some cases, you may need an extension cable to connect the servo motor to the controller or power supply. You can explore our selection of Servo Motor Extension Cables for the right fit.
- Wire Strippers: These are used to remove the insulation from the wires to expose the conductive cores.
- Crimping Tool: A crimping tool is used to attach the terminals to the wires securely.
- Soldering Iron and Solder (Optional): Soldering can provide a more permanent and reliable connection, especially for high - vibration or high - current applications.
- Multimeter: A multimeter is used to test the continuity and voltage of the connections to ensure they are correct.
Step - by - Step Connection Process
Step 1: Identify the Wires
The first step in connecting the servo motor plug is to identify the wires on both the servo motor and the plug. Most servo motors have a set of wires that carry power, ground, control signals, and feedback signals. The colors of the wires may vary depending on the manufacturer and the type of servo motor. Refer to the servo motor's datasheet or user manual to determine the function of each wire.
On the servo motor plug, the pins are usually numbered or labeled to indicate their corresponding functions. Match the wires from the servo motor to the appropriate pins on the plug based on their functions.
Step 2: Prepare the Wires
Once you've identified the wires, use the wire strippers to remove a small amount of insulation from the ends of the wires. The length of the exposed wire should be sufficient to fit into the terminals or solder joints on the plug. Be careful not to cut the wire while stripping the insulation.
If you're using a crimping tool, insert the exposed wire into the appropriate terminal and use the crimping tool to compress the terminal onto the wire. Make sure the terminal is securely attached to the wire and there is no loose connection.
If you prefer to solder the wires, heat the soldering iron and apply a small amount of solder to the exposed wire and the corresponding pin on the plug. Hold the wire in place until the solder cools and solidifies, creating a strong electrical connection.
Step 3: Insert the Wires into the Plug
After preparing the wires, carefully insert them into the corresponding holes or slots on the servo motor plug. Make sure the wires are fully inserted and there is no interference or short - circuiting between the wires. If the plug has a locking mechanism, engage it to secure the wires in place.
Step 4: Test the Connection
Once you've inserted the wires into the plug, use a multimeter to test the continuity and voltage of the connections. Set the multimeter to the appropriate mode (continuity or voltage) and touch the probes to the corresponding pins on the plug and the servo motor. Check for proper continuity between the wires and the correct voltage levels to ensure the connection is working correctly.
If the multimeter indicates a problem, such as a lack of continuity or incorrect voltage, double - check the connections and make any necessary adjustments. It's important to ensure that all connections are correct before powering on the servo motor to avoid damage to the motor or other components.
Step 5: Secure the Connection
After testing the connection and ensuring it is correct, you can secure the connection further by using cable ties or other fastening methods to keep the wires organized and prevent them from coming loose. This is especially important in applications where the servo motor may be subject to vibration or movement.

Troubleshooting Common Issues
Even with careful installation, you may encounter some common issues when connecting a servo motor plug to a servo motor. Here are some troubleshooting tips to help you resolve these issues:
No Power or Movement
If the servo motor does not receive power or does not move, check the following:
- Power Supply: Make sure the power supply is connected correctly and providing the correct voltage.
- Connections: Check the connections between the servo motor plug, the extension cable, and the controller or power supply. Ensure all connections are secure and there are no loose wires or short - circuits.
- Fuses or Circuit Breakers: Check if any fuses or circuit breakers have blown or tripped. Replace the fuses or reset the circuit breakers if necessary.
Erratic Movement or Incorrect Positioning
If the servo motor moves erratically or does not reach the correct position, check the following:
- Control Signals: Make sure the control signals from the controller are correct and within the specified range for the servo motor.
- Feedback Signals: Check the feedback signals from the servo motor to ensure they are accurate and being transmitted correctly.
- Mechanical Issues: Check for any mechanical issues, such as binding or misalignment, that may be affecting the movement of the servo motor.
Conclusion
Connecting a servo motor plug to a servo motor is a relatively straightforward process if you follow the steps outlined above. As a Servo Motor Plug supplier, we are committed to providing high - quality products and support to ensure your servo - motor systems operate smoothly and efficiently.
If you have any questions or need further assistance with connecting your servo motor plug or selecting the right products for your application, please don't hesitate to contact us. We are here to help you with your procurement needs and ensure you get the best solutions for your servo - motor requirements.
References
- Servo Motor Manufacturer's Datasheets and User Manuals
- Electrical Engineering Textbooks on Servo Motor Systems
- Industry Standards and Guidelines for Servo Motor Connections